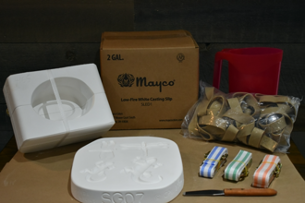
Pouring One-Piece Molds with Slip Place the mold on a clean, dry, flat surface and fill each section you wish to case with slip. Allow the slip to dry. Once the shiny wed look it gone, and the clay starts to shrink and pull away from the edges of the mold, the pieces are ready to be removed. Placing a board or piece of drywall over the top of the mold and flipping them over is the simplest way to remove items. Note: Some one-piece molds may not be cast solid. An example is something with depth. Dump excess clay on items thicker than a quarter of an inch. Pouring two-piece molds with slip Two-piece molds must be banded properly and securely. Begin filling the mold with slip and do not stop until you reach the very top of the pour hole. Try to allow the slip to hit the sides of the pour hole or go directly to the bottom of the piece if possible. This will help avoid forming what is known as "hard spots" or "hot spots" on t...